How to Convert Excel to Responsive HTML Tables.
No Code. No Stress. Just Import & Go.
Ahh beloved web tables, an sprawling nightmare of HTML elements, CSS classes and Javascript functions. If only there was an easy, free way to turn Excel tables into HTML tables for my website...
Well, fortunately there is. That’s exactly why we made HTML Table Maker.
In this article, we'll cover the 3 basic steps to quickly turn your Excel data into a beautiful, dynamic, updatable HTML table, ready to be pasted into your own website.

Example: A Responsive Table Generated from Excel
Below is an example of an HTML table imported from a .xlsx Excel file and embedded into this very article using HTML Table Maker. It supports: filtering, ordering, a column selector.. and the very best part is it only took us 5 minutes to make!
How to Turn Your Excel Table to HTML (3 Steps)
1
Format & Upload Your Excel File.
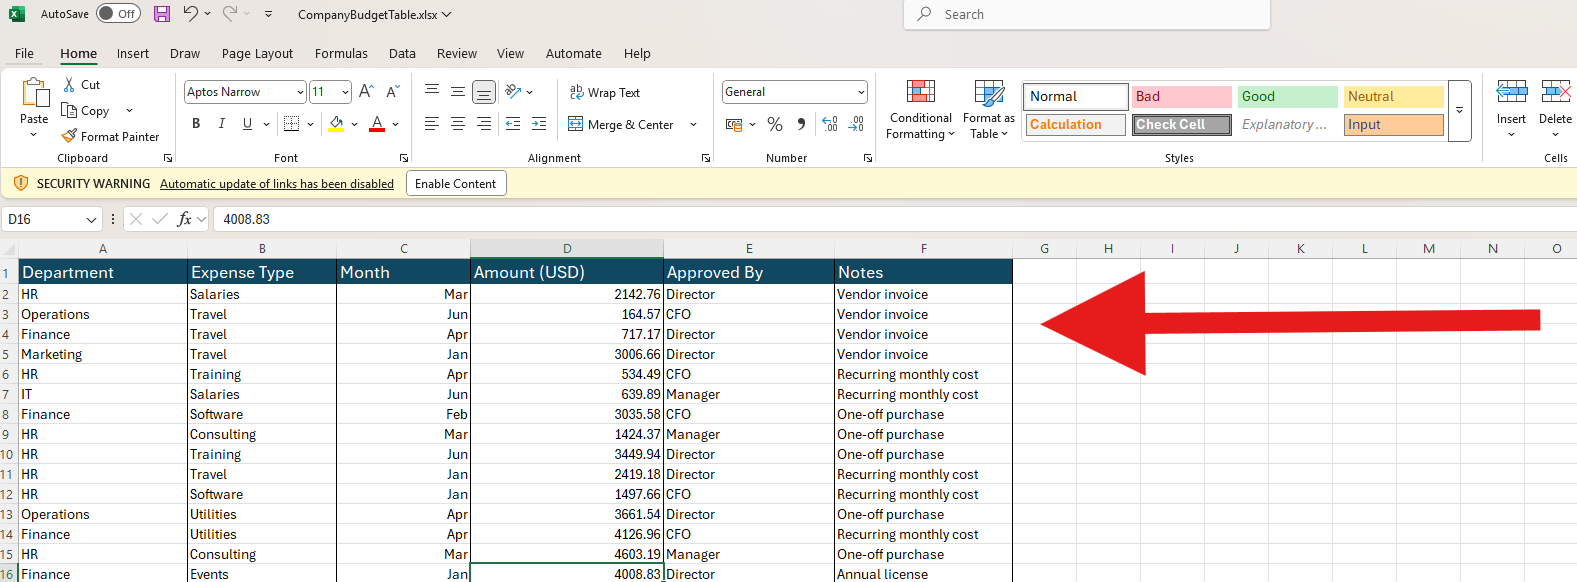
- Format your Excel file so your table is in an empty sheet on its own, with 1 top row for the column headers beginning in the A1 cell.
- Go to HTML Table Maker, select your `.xlsx` file and import.
2
Customize the Table’s Design & Behavior.
- Choose your features: like sorting, filtering, paging etc.
- Adjust colors, fonts, column widths and table types to your liking.
3
Paste into your website.
- Save your new table and click the 'Get Code' button and copy the HTML snippet.
- Paste the snippet into your website in a container for the table.
Boom, easy as that! — your Excel data is now a full web report, and it only took 5 minutes. You can always go back and edit your tables, as well as reupload the file to update the data on the fly.
Any questions? Email us at: besoftware.contact@gmail.com, we are always happy to help.