How to Add a Table in Elementor Without a Plugin (Step-by-Step Guide)
Learn how to create and embed a responsive HTML table in Elementor without installing any extra plugins.
If you’ve ever tried adding a table in Elementor, you’ll know tables aren't easy. Most tutorials suggest installing another plugin like TablePress — but they're slow, clunky and muddle the creation process.
Luckily, you can add a beautiful, responsive HTML table in Elementor in minutes without any extra plugins — just using our quick online tool and Elementor’s built-in HTML widget.
In this tutorial, I’ll show you exactly how to:
- Import your dynamic table from Excel or Google Sheets
- Edit and style to your liking
- Add it into Elementor and make it look great on any device
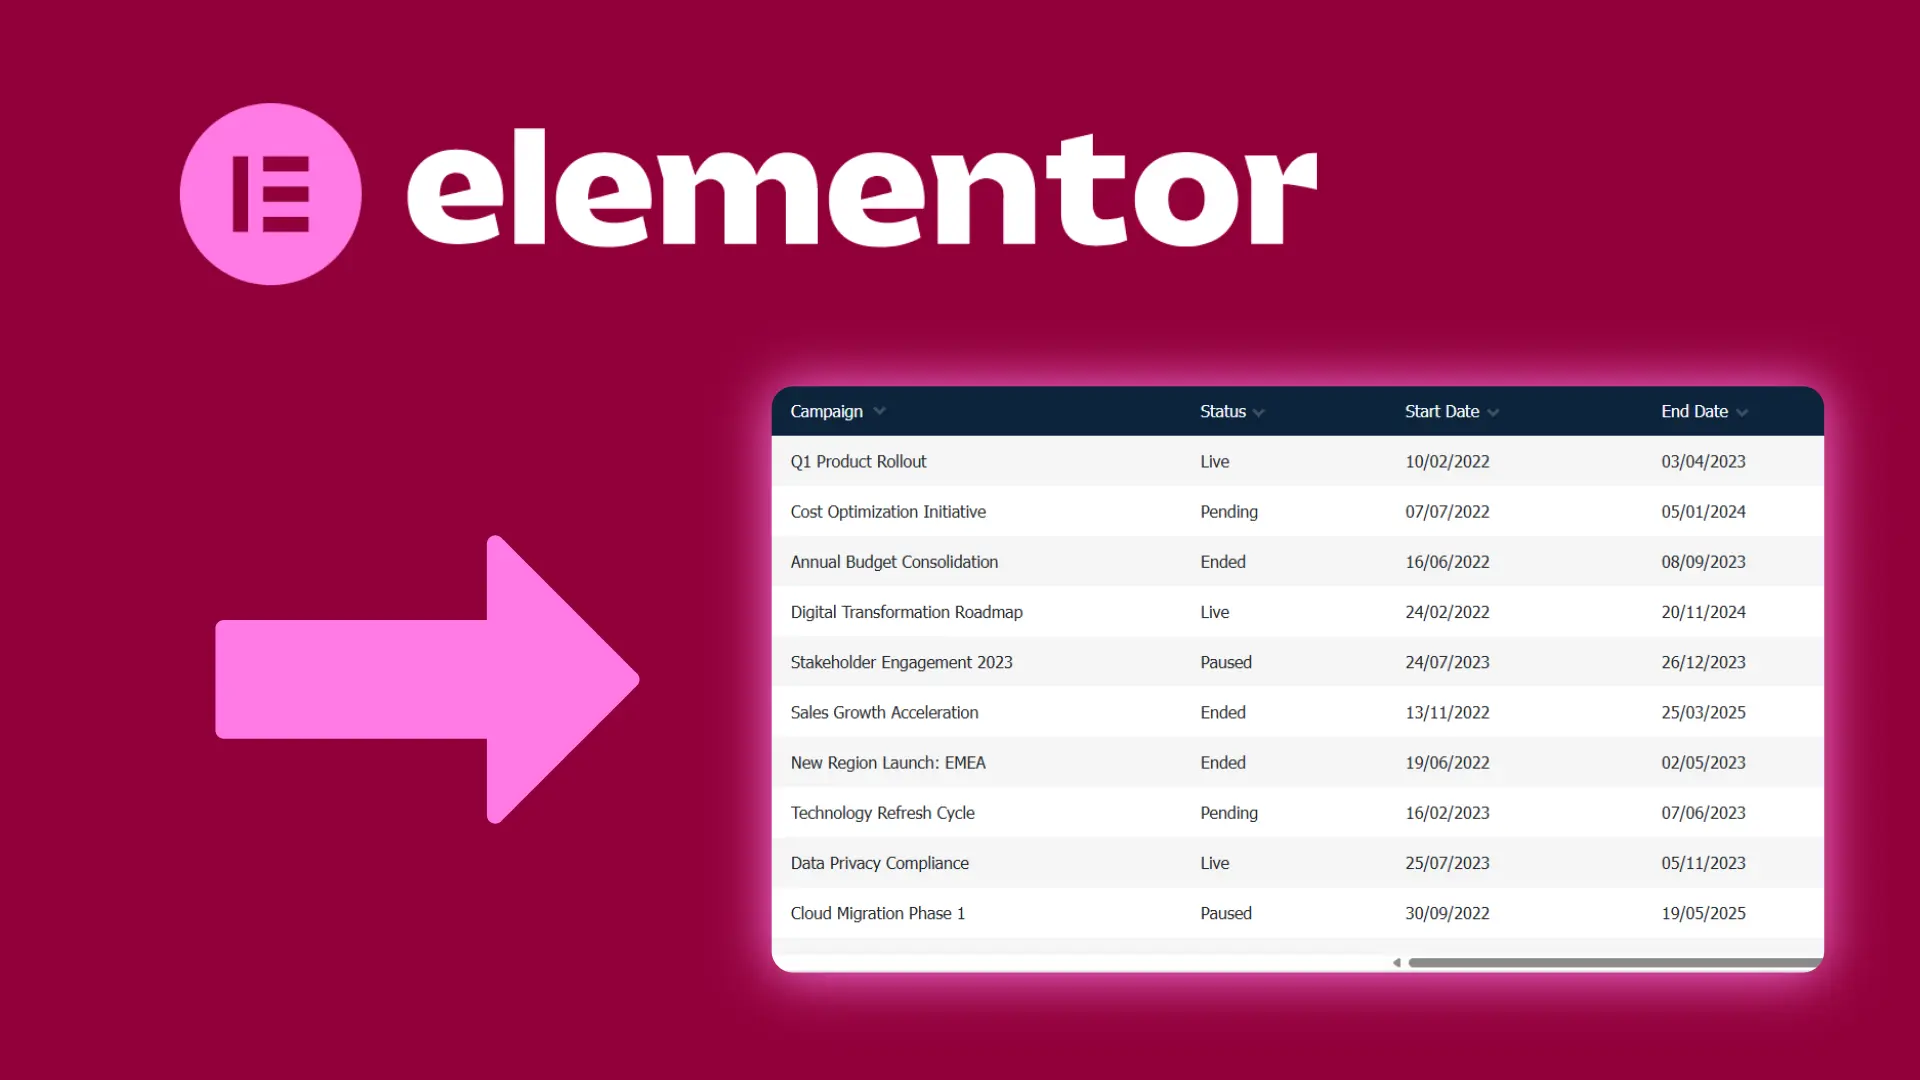
Example: A Large, Responsive Table
Here's a sample embedded table built in minutes that can easily be integrated into Elementor. It includes paging, column sorting, and full-text search.
Step 1: Prepare Your Table in Excel or Google Sheets

1
Add your table to the spreadsheet
- It must begin in the first 'A1' cell
- It must contain 1 top row for column header names
- Specify data types such as numbers, text or dates so the importer recognises the type of each column.
- Ensure no other data exists in the sheet.
2
Save spreadsheet
- Export/save to .xlsx file format. You are now ready for import!
Step 2: Import Your Spreadsheet to a Web Table Using HtmlTableMaker
1
Upload your spreadsheet
- Go to HTML Table Maker.
- Upload the .xlsx file you just created.
- Specify sheet name if the table is not on the first sheet in the file.
- Click upload.
2
Choose global/column import options
- Choose whether you want paging, filtering and column ordering.
- Double check all your columns have been imported successfully with the correct names.
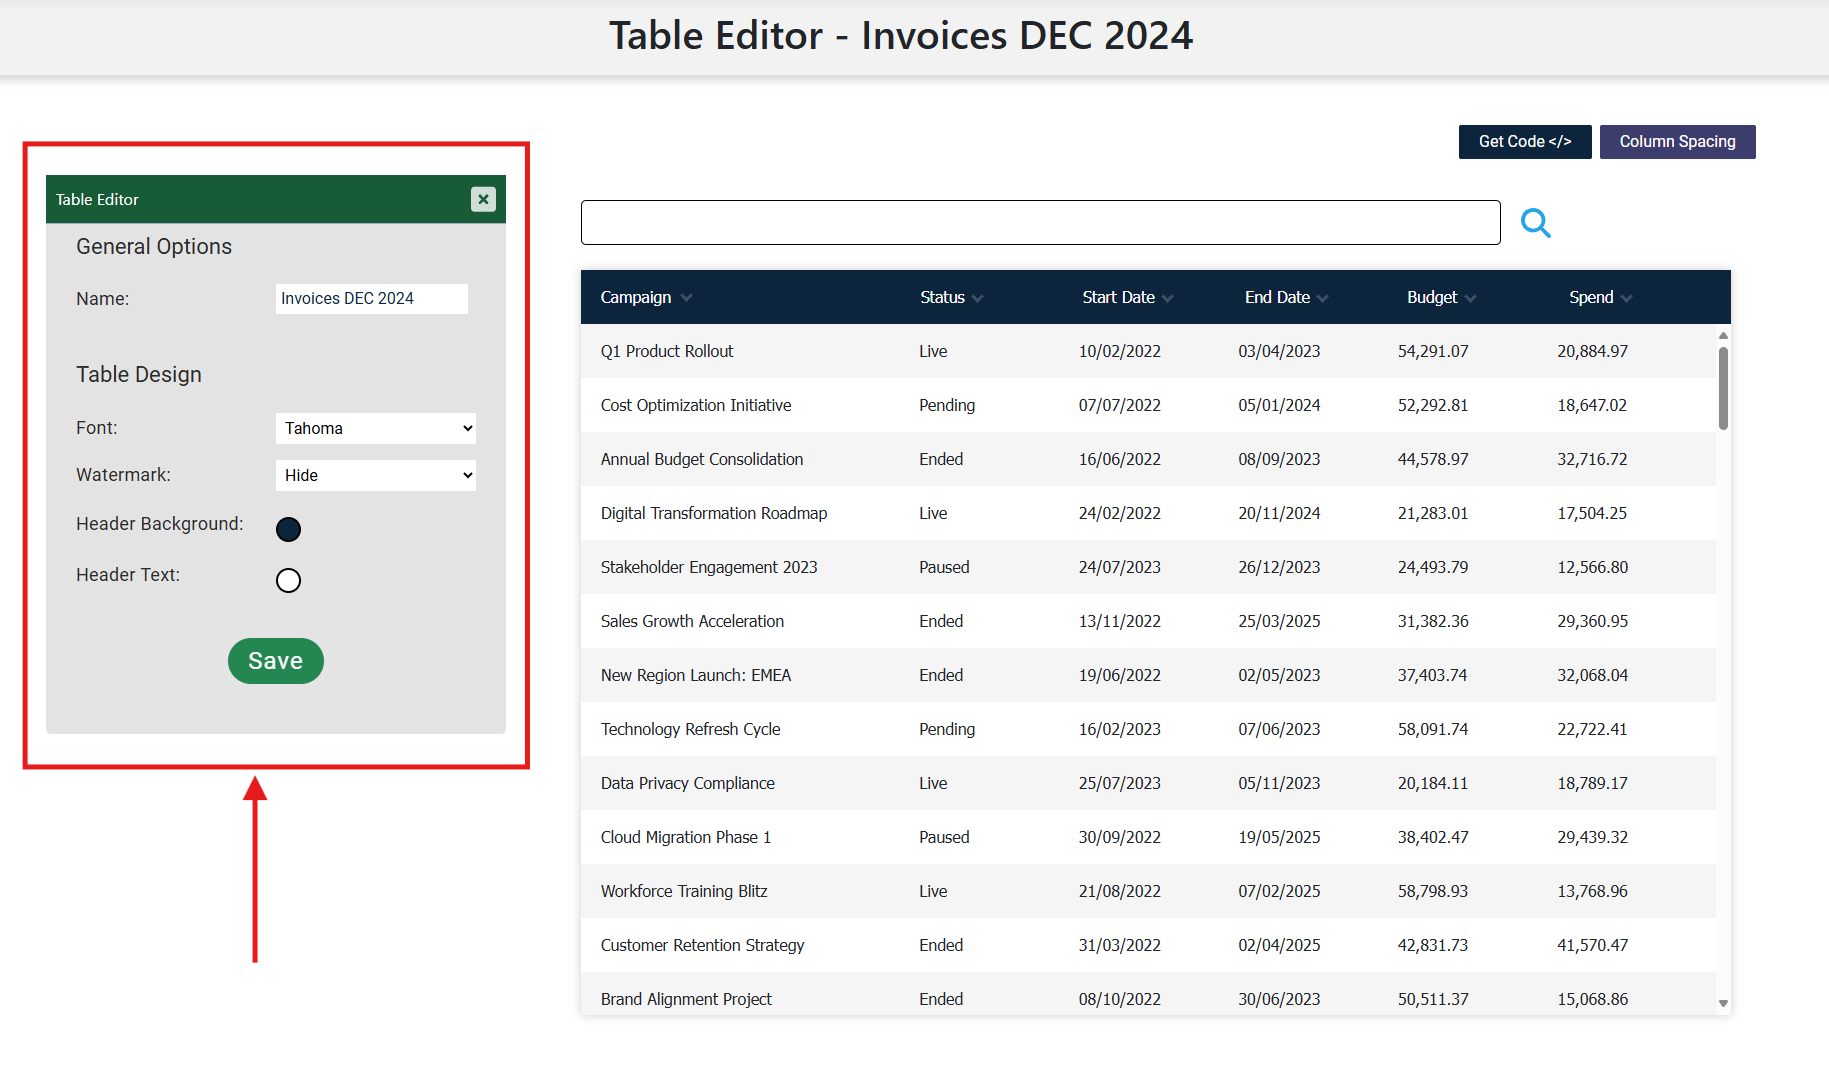
Step 3: Design Your HTML Table
1
Choose Global Options
- Give your table a name.
- Choose whether you want a column picker.
- Decide on table type. Static means all columns will horizontal scroll on smaller screens, dynamic allows you to choose per column scroll options to keep important columns always on the left.
- Choose font.
- Pick a header colour.
2
Design Per Column Options
- Fine tune column widths.
- For dynamic tables, pick which columns should be static and always show on the left without scroll.
3
Save
- Click save. Your table is now ready!
Step 4: Add Table to Elementor
1
Copy the Embed Snippet
- From the table editor, click the 'Get Code' button and then click 'Copy' to save the snippet to your clipboard, ready for Elementor.
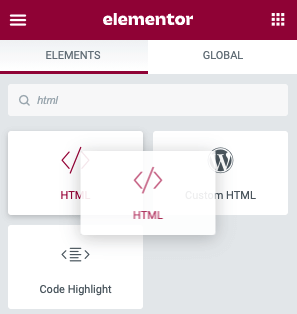
2
Paste into HTML Widget
- Open your page in Elementor.
- Find the HTML widget in the Elementor panel.
- Drag it into the section where you want the table to appear. Hint - Ensure you explicitly set a height and width for the table on your web page.
- Paste your HTML table code into the widget.
- Click Update to save your changes.
Step 5: Publish, and Admire Your Work
That's it! In minutes you’ve added a table in Elementor without installing a single extra plugin. Your site stays lightweight, your tables look the best, and you avoid plugin conflicts or unnecessary updates.